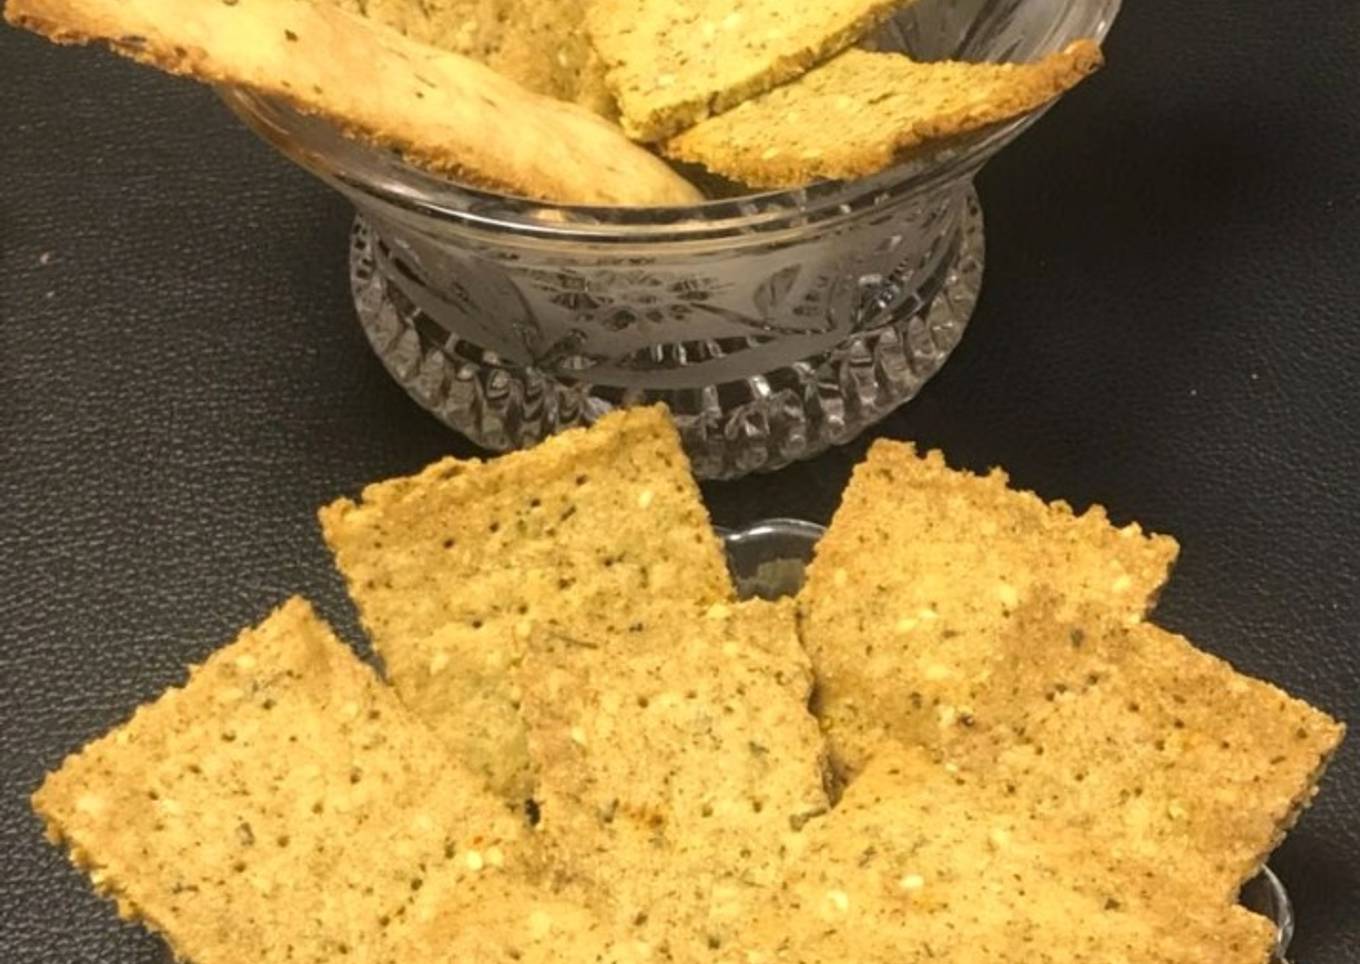
Multigrain Masala/Savoury Crackers Without Oven
Hello everybody, hope you are having an amazing day today. Today, I'm gonna show you how to prepare a distinctive dish, Multigrain Masala/Savoury Crackers Without Oven. One of my favorites food recipes. For mine, I'm gonna make it a bit unique. This will be really delicious.
Multigrain Masala/Savoury Crackers Without Oven is one of the most popular of current trending foods on earth. It is appreciated by millions daily. It is easy, it's quick, it tastes yummy. Multigrain Masala/Savoury Crackers Without Oven is something which I've loved my entire life. They're fine and they look wonderful.
Many things affect the quality of taste from Multigrain Masala/Savoury Crackers Without Oven, starting from the type of ingredients, then the selection of fresh ingredients, the ability to cut dishes to how to make and serve them. Don't worry if you want to prepare Multigrain Masala/Savoury Crackers Without Oven delicious at home, because if you already know the trick then this dish can be used as an extraordinary special treat.
To begin with this recipe, we must prepare a few ingredients. You can cook Multigrain Masala/Savoury Crackers Without Oven using 11 ingredients and 16 steps. Here is how you cook that.
Multigrain Masala/Savoury Crackers Without Oven…No Baking Powder or Baking Soda used…
Call these Crackers or Mathri or Khakra or Biscotti … whatever you may call them but one thing remains common and that is ultra crispiness.#goldenapron
#Week4
Ingredients and spices that need to be Make ready to make Multigrain Masala/Savoury Crackers Without Oven:
- 1/4 Cup (30 g) Wheat Flour
- 1/4 Cup (25 g) Oatmeal
- 1/4 Cup (40 g) Rice Flour
- 1/4 Cup (50 g) Fine Semolina
- 1/2 tsp Salt
- 1 Tbsp Sesame Seeds
- 1 Tbsp Dried Fenugreek leaves, crushed (Kasturi Methi)
- 1/4 tsp Whole Spice Powder (Garam Masala) (Optional)
- 3 Tbsp Olive Oil
- 1 Tbsp Curd
- 1/4 Cup + 2 Tbsp Milk
Steps to make to make Multigrain Masala/Savoury Crackers Without Oven
- Slightly dry roast sesame seeds. Roasting augments it's flavour.

- Take all the four flours, salt, sesame seeds, dried and crushed fenugreek leaves and whole spice powder in a bowl.

- Mix everything using a whisk so that everything blends well.

- Add oil and curd and rub it in the dry mix so that the mix looks like breadcrumbs.


- Slowly add milk and gather it into a ball. The quantity of milk may vary so do not add all milk at one go. Use as required. Do not keep the dough very hard. Keep it slightly soft.


- Cover it and let it rest for minimum 15 minutes on kitchen counter only. No need to refrigerate it. You can leave longer also.
Before rolling out the crackers, start preheating airfryer or kadhai. Divide the dough in 2 parts. Dust little flour on the kitchen counter and roll it thinly, slightly thicker than chapati.


- Using a cutter, discard the uneven ends. Now cut into the desired size and shape. Collect the scraps, mix it in the remaining dough and repeat the process.


- Prick with a fork. Pricking is done so that the crackers do not puff up while baking.

- With the help of a knife, lift each cracker and place it in the baking pan. No need to leave a gap between 2 crackers like it is done in cookies. This is because these crackers do not expand while baking. On the contrary, they shrink a little.

- Now bake them in otg or airfryer or on the gas stove. Preheat airfryer at 180 degrees for 5 minutes.
Take out the basket, keep the crackers in it and return it to the airfryer.
Reduce the temperature to 160 degrees and bake the crackers for 15 minutes approximately.
No need to flip the crackers in between.
When the colour changes and sides get golden brown, they are done.
- GasStove: Keep a wide kadhai on gas stove. Lay salt/sand. Keep a stand on it. Ensure that the stand doesn’t have any rubber hooks in the base, else they will melt in the process of baking and spoil your kadhai.
Cover and preheat for 10 to 15 minutes on medium flame.
- Keep the crackers on a greased plate and keep it in the preheated kadhai. Choose a plate which can be held with tongs. This is because the kadhai is really hot and it is very difficult to do with hands. Like I used my pie dish for this. You can even use cake pan.


- Cover and bake these on sim gas for 25 to 30 minutes.
Baking time will also depend on the thickness of your kadhai. Like I used a very thick bottomed kadhai and it took almost 45 minutes. So, do not opt for very heavy bottomed woks.

- After baking, keep the crackers on a wire rack till cools down completely. They will be little soft when out of the oven, will get crisp as they cool down.
Serve or store in an airtight container.

- Notes: Use fine semolina only. In case you don’t have it then grind your normal semolina in the mixie and you will have fine one.
You can replace fenugreek leaves with cumin seeds, if need be.
Adjust seasonings as per your taste and preferences.Pics are not attached as these are Notes and not instructions/method. - Notes: In Otg: Preheat otg at 180 degrees for 15 minutes.
Keep the baking tray on the lower rack.
Reduce the temperature to 160 degrees and bake for 12 to 15 minutes.
As your experience and also self-confidence expands, you will certainly find that you have more natural control over your diet regimen and also adapt your diet to your individual tastes over time. Whether you intend to serve a dish that makes use of fewer or more active ingredients or is a little bit essentially spicy, you can make simple changes to attain this goal. Simply put, begin making your dishes on schedule. When it comes to fundamental food preparation abilities for beginners you do not need to discover them yet only if you grasp some easy food preparation strategies.
This isn't a total guide to quick and easy lunch dishes but its great something to chew on. Ideally this will certainly obtain your creative juices moving so you can prepare tasty dishes for your family without doing a lot of heavy meals on your trip.
So that's going to wrap it up for this special food Step-by-Step Guide to Make Speedy Multigrain Masala/Savoury Crackers Without Oven. Thanks so much for your time. I am sure you can make this at home. There's gonna be interesting food in home recipes coming up. Don't forget to bookmark this page on your browser, and share it to your family, colleague and friends. Thank you for reading. Go on get cooking!


Comments
Post a Comment